Get to know the home your brief created
Your first design gives you something to explore. Start with the rooms and routes that matter most, then read the result notes to understand the choices behind the layout.
Read the design and its notes together
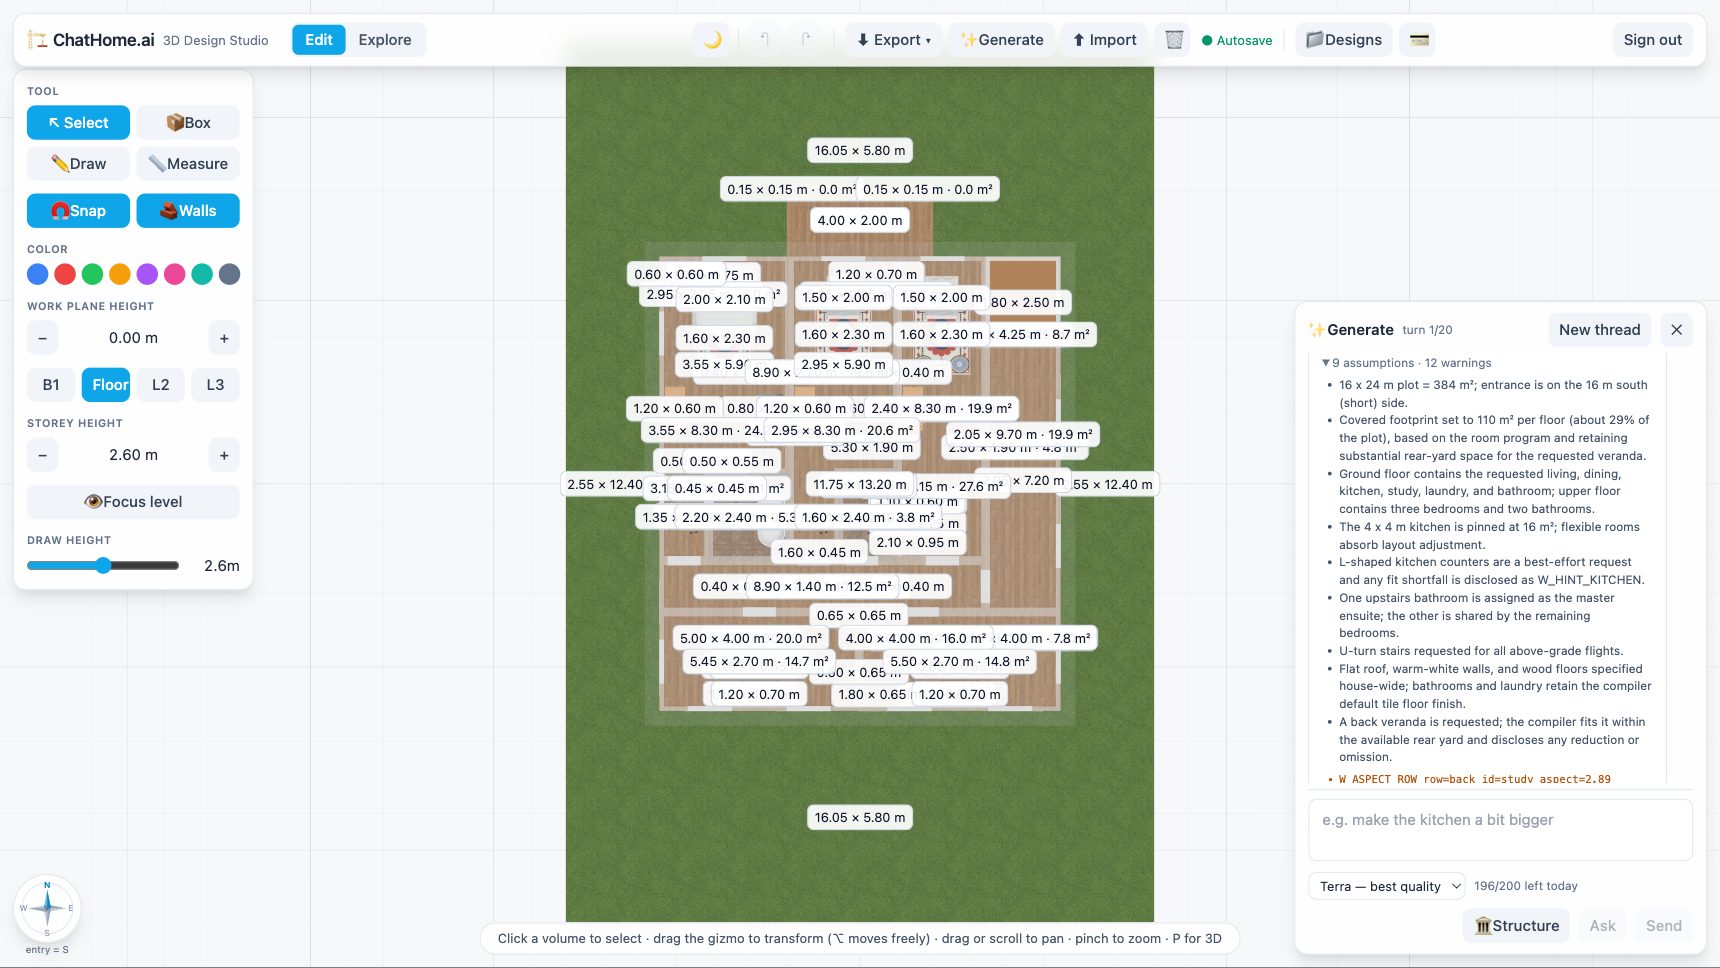
Open the assumptions and warnings beneath the generated result. Assumptions explain choices made where your brief left room for interpretation. Other notes explain differences between the request and the delivered design, such as a changed room area or a different furniture arrangement.
Check the essentials first
Count the bedrooms and bathrooms, check their floors, and trace the route from the entrance to the shared living spaces. Then look at the features that made this idea yours: a quiet study, a central courtyard, or a kitchen beside the garden.
Match a note to a place
When a note names a room, find it in the 2D plan and inspect it in 3D. This turns a general concern about the design into a specific decision you can act on.
Understand requested and delivered sizes
A target area leaves room to adjust proportions. Stated room widths and depths describe inside space; plot and house dimensions describe the outside. Check the delivered values and any notes about hallway length or thicker frame walls. Read the measurement guide.
Read each figure with its unit
In feet mode, the change summary, assumptions, and Ask answers convert recognisable sizes into feet and inches. Some phrases and detailed warnings can remain metric, so read the unit beside the number. Your own messages stay as written. Understand displayed units and report formats.
A simple reading example
Suppose you requested a 12-square-metre study and a result reports 10.4 square metres. These are illustrative numbers. The useful next question is whether the delivered width, depth, door position, and furniture still serve your purpose.
If the study needs more space, decide which other room or optional feature can give some up. If the room already works, you may prefer to keep the layout and adjust the furnishings.
Example brief: keep the main priorities visible
This shortened riverside brief shows how to identify the requirements you want to carry through a review:
“Design a family home on a 32-metre by 55-metre riverside plot, with the road to the north and river views to the south. Allow 360 to 420 square metres of enclosed accommodation. With anticipated seasonal flooding of up to 1.2 metres, raise all habitable rooms at least 1.8 metres above existing grade and provide no basement. Keep an accessible elderly parent's suite on the main living level, connect shared rooms to the southern verandah, and provide two routes from the raised floor to the site.”
ChatHome.ai builds on grade and does not raise a floor on stilts, so that part of this brief would come back as a request the result notes decline.
Keep the site levels, essential accommodation, and arrival requirements at the top of your review notes. Record any unresolved point beside the relevant view so it stays part of the next design conversation.
Choose your next question
Ask to understand
Use Ask for questions about the generated plan, such as “What width and depth did the study receive?” Ask leaves the scene unchanged and uses no generation allowance. Its answers refer to the generated plan; check later hand edits directly in the editor.
Revise to change
Once you know what you want to improve, make one focused request. A revision keeps the house outline unless you ask to resize it, redistributing space inside it. Read the requested changes and the layout changes together, since adjusting one room can move others. Learn how revisions and resizing work.
Recognise a declined change
“Declined — plan unchanged” means the system could not fit the change inside the existing outline and kept your design. That attempt uses no generation. A successful run that applies no requested change is different and can still count; read the result status and allowance display.
Keep exploring
Try it with your own design
Back to AI home design.