Give your room the space it needs
A room's area tells you how much space it has. Its width, depth, and openings help you understand how that space might work. Check both before deciding that a layout fits your life.
Start with the difference between area and shape
A 3-by-4-metre rectangle and a 2-by-6-metre rectangle both cover 12 square metres. Their proportions make very different starting points for a bed, a desk, or a dining table.
When writing a brief
Use a target area when you can be flexible about proportions. State both width and depth when those dimensions matter. These requests describe inside space, and the rooms still need to fit together with walls and circulation.
When checking a room
The 2D plan shows width, depth, and area labels. Select a room to see its inside size, outside size, and clear floor area in the Inspector. Choose m or ft in the top bar to read metres and square metres, or feet, inches, and square feet. For an angled or irregular outline, the overall width and depth do not describe every part of the usable space.
Type a size when precision matters
The Box tool's Width, Depth, and Height fields accept typed dimensions. In metres, width and depth round to the nearest centimetre and height uses 5-centimetre steps. For example, choose m and enter 3.65 for a practice box width instead of placing its corner on a whole-metre grid point.
In feet mode, type a size such as 12' 6" directly. The entered inch value is kept more precisely than a rounded label can show. A 4-metre length displays as 13' 1" without becoming a different size. See input examples and how unit switching works.
A manually drawn box has outside dimensions, so adding walls makes its interior smaller. For a generated room, the dimensions in your brief describe the clear space inside the walls. Plot and building footprint dimensions remain outside measurements.
Read wall thickness in context
Generated homes generally have 230 mm exterior walls and 115 mm partitions. Walls on RC-frame beam lines can be thicker and reduce the clear room space beside them. Measure from the inner wall faces when checking a furniture gap.
Check the delivered sizes
Exact dimensions constrain the layout, but read the result notes before treating every measurement as unchanged. An above-ground hallway keeps its requested width while its length follows the layout. Some rooms beside frame walls can be slightly narrower than requested, with that adjustment reported.
Keep manual wall changes deliberate
A generated room can have different thicknesses on different walls. The Inspector lists these per wall. Setting one uniform thickness replaces that arrangement, so recheck the room and its shared walls after changing it. Older saved designs can also carry different wall thicknesses.
Use snapping to line things up
Snap and Walls do different jobs
Snap helps align movement to a 1-metre grid in m mode or a 1-foot grid in ft mode, and rotation to 15-degree steps. Switching units leaves existing objects where they are; the new grid applies when you draw or move them. Hold Alt or Option while moving to make a freer adjustment. The separate Walls toggle helps drawing, box, and measurement points meet nearby wall faces; an amber ring indicates a wall-face snap.
Keep these aids on while establishing the layout, then use typed sizes or a free adjustment for the detail that needs it. Check the final value after moving or resizing an object.
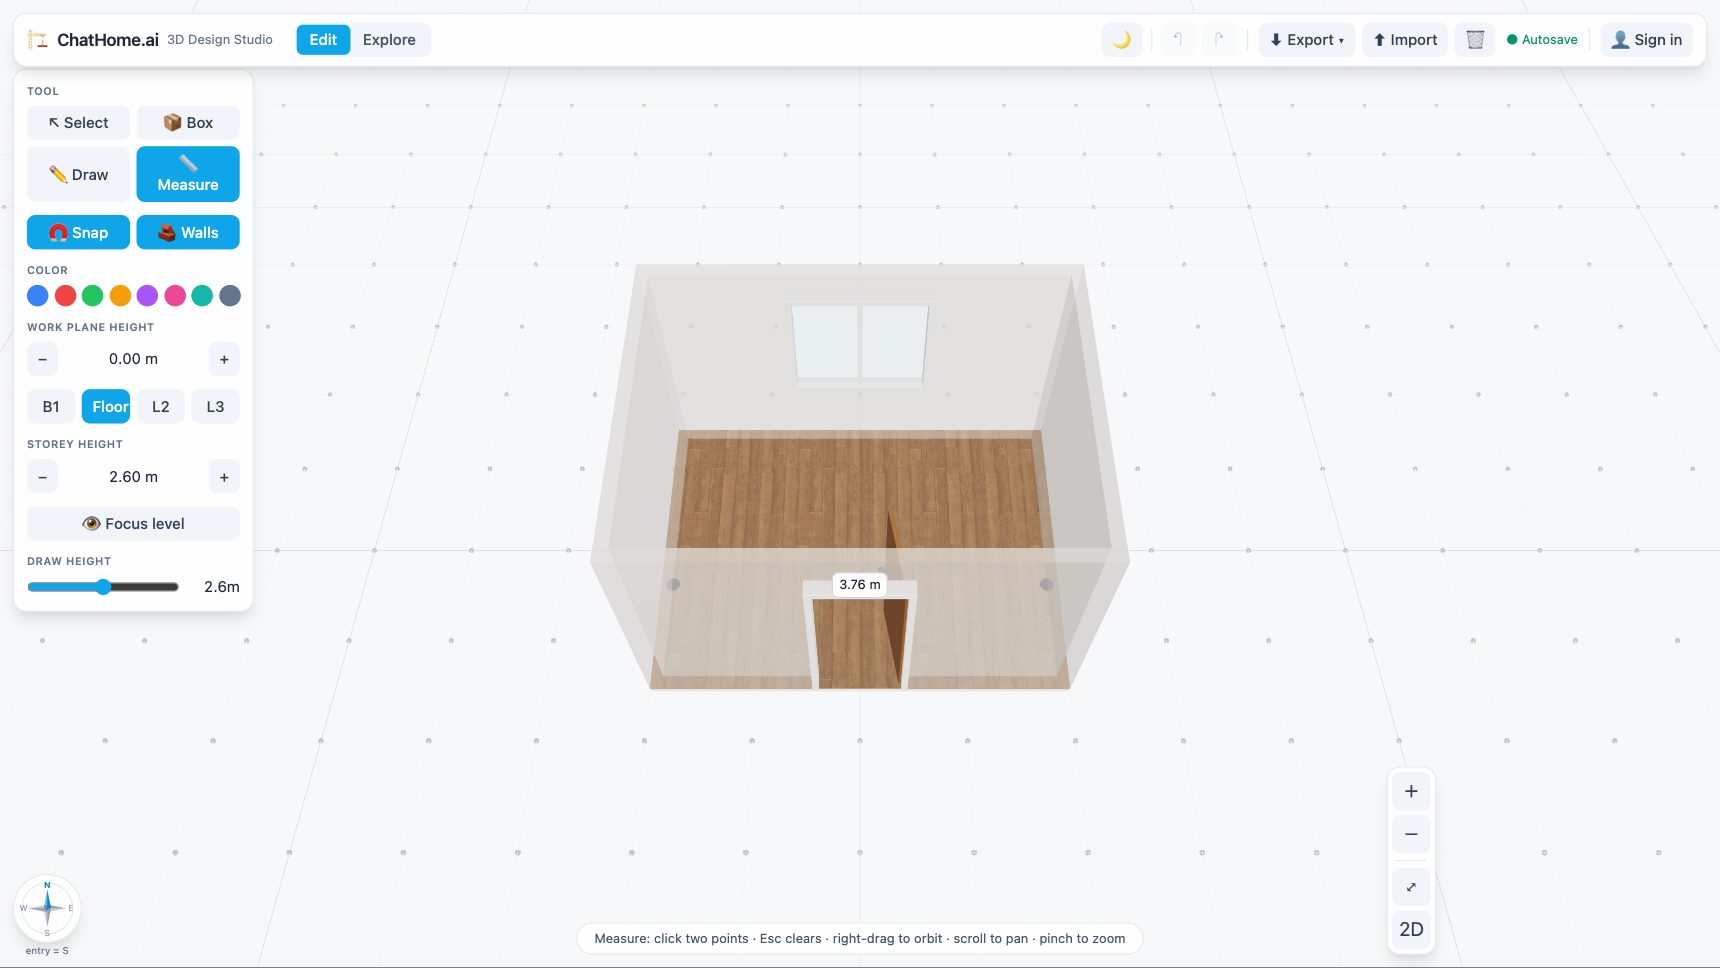
Measure a distance you want to check
Choose Measure, or press M, and click two points. The readout shows their distance in either the plan or orbit view. A third click starts a fresh measurement.
Keep a note of important dimensions
Measure shows one temporary distance at a time; it does not save that line as an annotation. Keep important checks in your notes, or download a dimensioned PDF plan for a broader reference. PDF room labels for manual and older scenes can use outside measurements, so check the sheet note.
Keep units clear in a detailed brief
The townhouse example uses a 26-foot by 90-foot plot and an 8-foot by 10-foot courtyard. Keep those original units in the brief. To draw a separate practice rectangle for the courtyard, choose ft and enter 8 and 10 as its width and depth; you do not need to convert them first.
That rectangle represents a requested size. On a 26-foot plot the generated plan has no courtyard (a court needs a house about 9.5 metres wide), so the request is answered in the result notes and the rooms take daylight from the front and rear; on a wider plot, review the generated courtyard and the space left for walls, circulation, and the rest of the home separately.
Keep exploring
Try it with your own design
Back to Floor plan creator.