Make the journey between floors feel clear
A home with several floors works best when you can explain what belongs together and how people move between levels. Start with those relationships, then inspect the stairs and landings in the plan.
Describe one floor at a time
Group the rooms by level in your brief. State where you arrive, where the household gathers, and which bedrooms need the quietest position. Include the lounge, laundry, storage, and bathrooms that support each group.
A floor-by-floor excerpt
The townhouse brief places the grandmother's suite and shared living spaces on the ground floor, the primary suite and two children's bedrooms on the first floor, and a third child's room with flexible guest and work spaces on the second. This order makes the household priorities easy to follow.
Name your levels consistently. A numbered list in your own notes can prevent “upper floor” from meaning two different places in a longer conversation.
Review the generated stairs
ChatHome.ai can generate up to three above-ground storeys and a basement. Generated stairs occupy a core on the right side of the house when viewed from its entrance, unless you ask for a central stair hall: then the flight stands in an atrium at the middle of the plan, the galleries above become its landing ring with rails, and there is no stair core. Inspect that core, or the hall, on each plan before refining neighbouring rooms.
Read the stair arrangement in the result
In generated layouts, an L-turn request becomes a U-turn arrangement. An open staircase asked in a central hall becomes an atrium; an open-stair request without such a hall becomes straight stairs in the core. The result notes describe the change. The manual editor provides straight, L-turn, U-turn, and open variants for further exploration.
Look at the stairwell windows
A generated stairwell can have windows along its exposed long side where the flights and site boundaries allow them. Check the actual glazing and landings from each floor instead of assuming every stairwell has the same openings.
Build levels manually
1. Set the floor-to-floor height
Choose m or ft in the top bar, then set the storey height before building the upper level. This controls the vertical distance between the level buttons. Draw height controls the height of the next shape, so check it separately when you begin a new room. A generated design opens with the storey height already set to the height it was planned at.
The storey-height buttons adjust by 0.1 metre in m mode or 1 inch in ft mode. The level buttons use the chosen height in either unit. Understand units and typed dimensions.
2. Work on one level
Use Floor for the starting level and L2 or L3 for the levels above. Turn on Focus level to make the other storeys faint while you work. This helps you see alignment without selecting objects on another floor.
3. Add flooring around the stair opening
On the upper level, draw the floor area in separate pieces around the intended stairwell. Convert those solid shapes through Make this a… → Surfaces → Flooring. Keep a clear opening for the stair; the flooring follows the shape you draw.
4. Place and orient the stair
Return to the lower level, draw a solid box for the stair, and set its height to the storey rise. Choose Surfaces → Stairs and a variant. Rotate the stair to put its lower and upper ends where you need them; a 180-degree turn reverses a straight stair's direction.
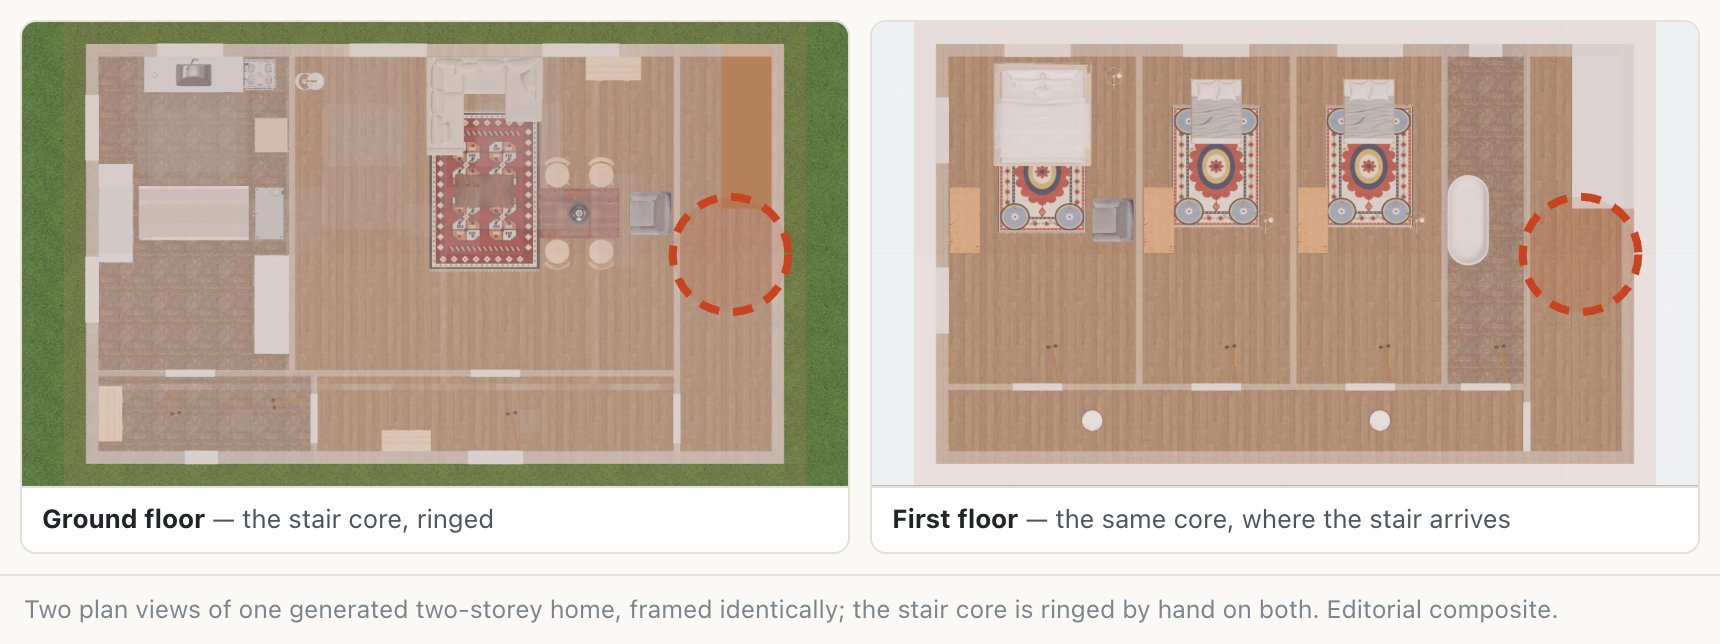
Follow the complete route
Enter Explore and walk from the lower room to the upper landing. Check the stair direction, overhead opening, and the doorway beyond it. If an Inspector notice says the stair is too steep or narrow for Explore, adjust the stair box and try again.
Then review the household route: can a guest reach a bathroom, can children reach their rooms, and can someone move between shared spaces without passing through another bedroom? Record questions against the relevant floor.
Keep the floors together for review
Download a PDF plan for every storey at a shared scale and orientation. Use the pages alongside the walkthrough to discuss stairs, landings, and room connections.
Keep exploring
Try it with your own design
Back to Multi-storey home design.