Start with one room you can shape yourself
A single room is a good place to get comfortable with the editor. Draw its outer shape, turn it into a room, and give it an entrance and a window before adding furniture.
1. Choose where to draw
Open the studio in Edit mode and select the Floor level. Switch to the 2D plan if a top-down view helps you place the room. New shapes sit on the selected work plane.
Try a simple practice size
For this exercise, choose m in the top bar and use a box 4 metres wide, 5 metres deep, and 2.6 metres high. These are practice dimensions for learning the controls. They describe the box; the clear space inside the finished walls will be smaller.
Prefer feet and inches? See how to switch units and type sizes. Choose your unit before tracing an outline: switching partway through discards the unfinished outline.
2. Make the outer shape
Choose Box, or press B. Click two opposite corners of the base, then set the height and click again or press Enter to finish. The Width, Depth, and Height fields let you type the practice dimensions precisely.
For an outline with more corners
Choose Draw, or press D, and click each corner of the footprint. Click the first point again after at least three points to close it. Set the draw height before beginning; the completed outline rises to that height.
3. Turn the shape into a room
Select the new shape and use the Inspector's Wall thickness control. A value above zero gives the shape walls and a hollow interior. For this manually drawn practice room, try 0.12 metre and look at the difference in 3D.
This sets a uniform wall thickness for your hand-drawn room. Newly generated rooms can use different thicknesses on different walls. Check the Inspector's dimensions and floor-area readout, and inspect any overlap notice before adding more detail.
4. Add a door and a window
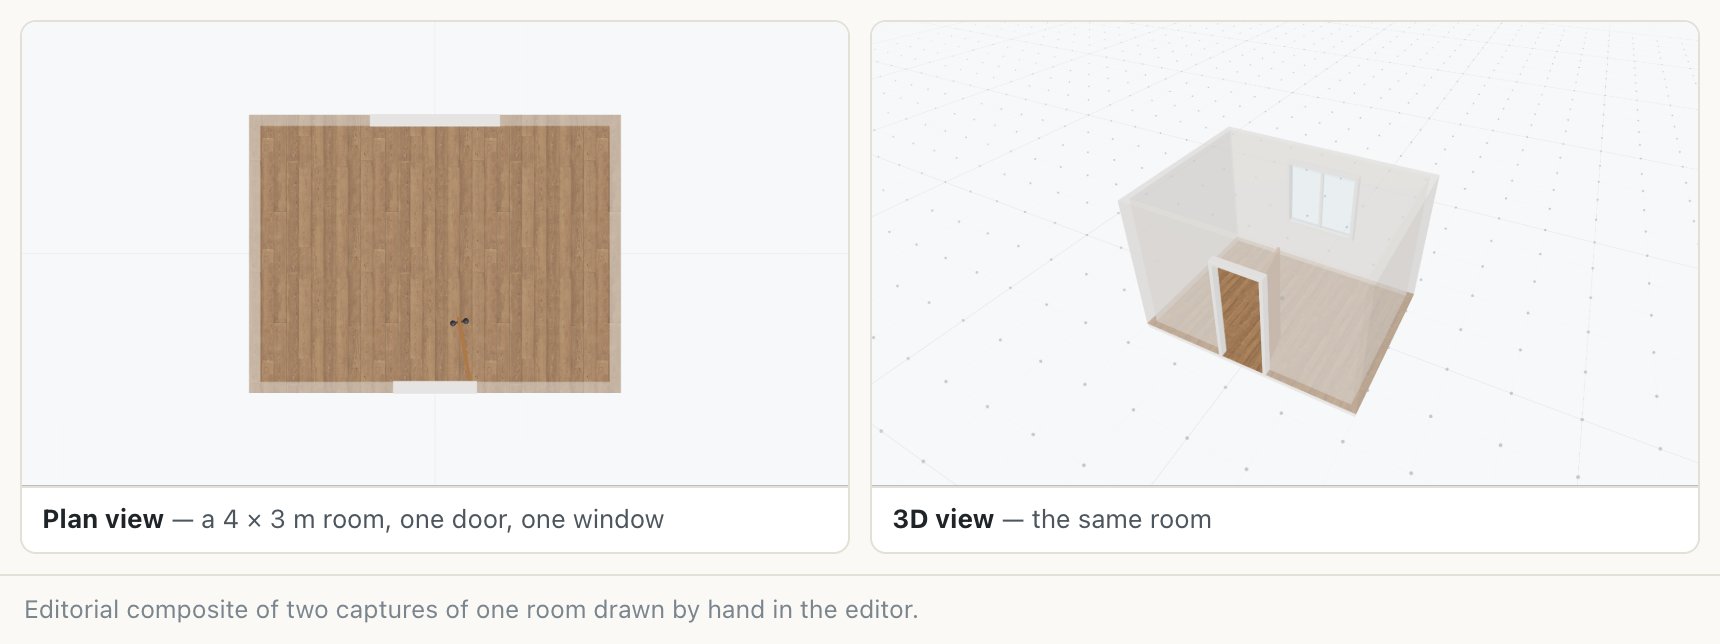
With the room selected, use the Inspector's opening controls to add a door to the chosen wall. Adjust its width, height, and position along the wall. Add a window and set its sill height as well.
Move an opening into place
Select the opening and drag its handle along the wall to slide it, or up and down to change its height. The opening stays within the wall's available width and height. If a value changes as you enter it, check the wall size and sill position.
5. Check the room from both views
Use the 2D plan to check the shape and opening positions. Return to 3D to look at the entrance, window height, and wall thickness. Fit to view helps bring the room back into the frame.
Before furnishing, decide where you expect to walk and which wall should hold the largest item. You now have a room you can measure, arrange, and keep developing.
Keep exploring
Try it with your own design
Back to Floor plan creator.